Locate2u vs Routific: How to Run a Fair Route Optimization Trial
Drafted with AI assistance and published by the Locate2u Editorial Team. See our editorial policy.
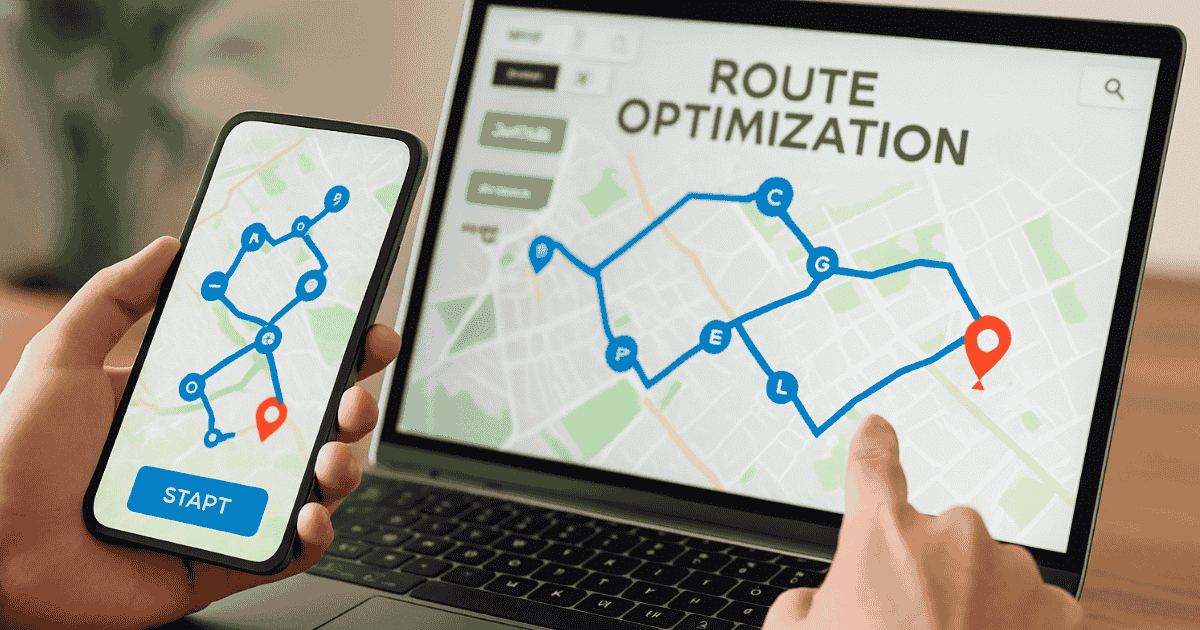
If you have narrowed your search to Locate2u and Routific, you have probably noticed that the feature lists look similar. Both offer route optimization, a dispatch view, a driver app, live tracking and proof of delivery.
That means a feature checklist will not settle it. The only test that really counts is how each tool handles your own routes, your own constraints and your own messy days.
We are Locate2u, so we are not a neutral judge. What follows is a method for running a fair side-by-side trial that works whichever tool ends up winning. If you want our feature-level view, read our Routific vs Locate2u feature comparison or the summary on our Routific alternative page.
What each tool says it does
Start with what each vendor claims, so you know what to test.
Routific describes itself as built for local delivery businesses. Its website lists optimized routes, a dispatcher dashboard, a driver app, real-time driver progress on a map, time-stamped proof of delivery, customer tracking links and a two-way Shopify sync. It also says it compares planned and actual route timing, with a driver performance view listed as coming soon.
Locate2u's route optimization software plans routes around time windows, vehicle capacity, live traffic and driver availability. It sits inside a wider delivery platform with a drag-and-drop dispatch dashboard, a driver app, real-time tracking, proof of delivery, customer notifications, CSV and API import, and integrations including Shopify, WooCommerce, Zapier and Xero.
On paper, both cover the core job. Your trial is about finding out how they differ in practice.
Step one: Pick the right test days
One average day tells you very little. Pull the order data for three kinds of day:
- A normal day, so you see typical results.
- Your busiest day, so you see how each tool copes under pressure.
- A messy day, with tight time windows, awkward addresses or a driver short.
Use historical days you have already run. That way you can compare each tool's plan against what your drivers actually did.
Step two: Give both tools identical data
This is where most trials go wrong. If one tool gets a cleaner order file, it will look better for reasons that have nothing to do with the optimizer.
Prepare a single file for each test day, then load the same file into both. Before you do, check:
- Every address is complete and correct.
- Time windows match what you promised customers.
- Time on site at each stop reflects reality, not a hopeful guess.
- Load sizes and vehicle capacities use the same units in both tools.
- Driver shift start and end times are the same in both.
Service time is the setting people most often get wrong. If it is too short, every plan looks great on screen and runs late on the road.
Step three: Match the rules in both tools
Optimizers make trade-offs, and those trade-offs depend on how strictly you tell them to treat each constraint.
Routific's help center explains that you can enforce time windows strictly or allow deliveries to run a little late, and make the same choice for shift times and vehicle capacity. Exceeded constraints are flagged on the plan.
That flexibility is useful, but it can make a comparison unfair. A plan that lets some deliveries run late or a van run over capacity will often show less driving than one that enforces every rule. Set both tools to the same level of strictness, or count every flagged late stop, overloaded vehicle and overtime shift as part of the result.
For a deeper look at why constraints change the answer so much, see the real math behind multi-vehicle route planning.
Step four: Measure what matters
Total distance is the number most people compare first, but it is rarely the whole story. Record these for each tool and each test day:
- Total drive time and distance.
- Number of vehicles and drivers needed.
- Stops planned outside their time window.
- Drivers planned past the end of their shift.
- How evenly work is spread across drivers.
- How many stops you had to move by hand before you would send the plan.
- How long the whole process took, from import to approved routes.
The last two are easy to forget and often decide the result. A plan that saves a little distance but needs heavy manual fixing every morning is not a saving.
Step five: Ask a driver to check the routes
Print or share the routes from both tools without saying which is which. Ask an experienced driver or dispatcher which they would rather run, and why.
They will spot things the software cannot know: a school zone at pickup time, a customer who is never in before noon, a street a truck cannot turn into. Our article on when route optimization conflicts with driver experience covers how to weigh that feedback.
Step six: Test a mid-day change
Morning plans are only half the job. Pick a point in a test day and make the same changes in both tools:
- Add an urgent same-day order.
- Cancel a stop.
- Remove a driver and redistribute their remaining work.
Watch how much of the rest of the plan moves, how ETAs update, and how quickly and clearly the change reaches the driver's phone. In Locate2u, new stops are inserted into the best position on an active route, affected routes are re-optimized and updates are pushed to drivers in real time. Check how the other tool handles the same changes with your data.
Step seven: Test beyond the route
Most teams end up using a route optimization tool for more than routing. Run a small live test with a couple of drivers and check:
- The driver app: is it clear, and does it work where coverage is poor?
- Proof of delivery: does it capture what your customers and your contracts require?
- Customer notifications: do they look like your brand and go out at the right moments?
- Integrations: do orders arrive from your store or system without manual work?
- Reporting: can you see on-time performance and the gap between planned and actual?
If you track delivery performance closely, our guide to last mile delivery metrics suggests which numbers to watch during the live test.
Step eight: Score the results and decide
Put the results side by side and weight them by what matters to your operation. A business with strict appointment windows should weight late stops heavily. A business paying a lot of overtime should weight shift overruns.
Then add cost. Check each vendor's current pricing on its own website, such as Routific's pricing page, against the features you actually need. Ours is on the Locate2u pricing page.
Common trial mistakes
- Comparing a vendor's demo routes with your own real routes.
- Spending a week tuning one tool and an afternoon on the other.
- Judging on one day of data.
- Ignoring the time it takes your team to review and fix the plan.
- Letting either vendor run the test without seeing the inputs yourself.
Making the call
Both Locate2u and Routific are serious route optimization tools, and the right choice depends on your routes, not on a marketing page. A fair trial with identical data, matched rules and a mid-day change will tell you more than any comparison article, including this one.
To run the Locate2u side of that trial with your own stops, request access.

Related Articles

Logistics Partnerships for Last-Mile Success
Why last-mile success often depends on the right logistics partners, what reliable partnerships deliver, the trends shaping them and how to build them.

Training Logistics Teams for High-Speed Fulfillment
Where training speeds up logistics fulfillment: receiving, picking, shipping and systems, plus building a safety-first culture and hand-offs that really work.